If you are a musician or performing artist of any kind, one of the most important parts of your promotional arsenal is your photographs. They are the visual embodiment of you or your group and your brand. Photographs are not only necessary for your press kit, they are also crucial for your website and presence on social media. So it’s worth spending the time (and money) to get the best photographs you can because they’ll be everywhere you are online. After creating hundreds of websites for performing artists over the past 15+ years, I’ve learned a few things about what kind of photos work best for a website design.
Find a good photographer
It’s tempting to allow your friend with the fancy DLSR camera to take a bunch of photos for free. But if they’re not a professional photographer, resist. Just as you wouldn’t hire a photographer to file your taxes, don’t hire your tax accountant to take your publicity photos. Find the best professional photographer you can afford. If you happen to live in a big city, you’ll have access to many professional photographers. If you don’t live in a big city, seek out the best local photographer or travel to the nearest big city if you can’t find a decent local photographer. If you meet other performing artists who have great publicity shots, ask them for the name of the photographer.
Professional photographers will usually specialize in a particular type of photography. You’ll want a photographer who knows how to photograph people. Wedding or portrait photographers produce great publicity photos for performing artists. They know how to stage, frame and light a shot with a few people or many people in lots of different types of locations, indoors and outdoors. Look through their online portfolio. Are the photos well-lit, in focus, and creative? Do they flatter the subject and make them look their best?
How much?
The answer to this question will be a bit more complex due to copyrights and usage restrictions which will differ for each photographer and the work they produce. You should budget at minimum $1,000, but good photographers in larger cities will likely cost $2,000 or more.
You may also need to pay additional fees for each photo you select, or the photographer may let you use all the photos taken. Make sure you can use your photos for all of your publicity purposes, including online and print, and get that in writing up front so there are no surprises after the photoshoot.
Website photo guidelines
Discuss in advance the types of photos you’ll need with the photographer. If you have a manager or publicist, you should definitely consult with them about the types of photos you’ll need for your press kit and things like programs, newspapers and promotional flyers. But often overlooked are the photos you’ll need for your website. Here are some guidelines to discuss with your photographer…
Horizontal photos
Desktop and laptop computer screens are wider than they are taller, so, you’ll want to get a series of horizontal (or landscape) photos for a website design. Tall (or portrait) photos are great for your press kit and headshot, and can be used for a website, but they’re not nearly as versatile and will require cropping out a lot from the top and/or bottom of the image.

Crop on the bottom only
You or your group (and instruments if they’re included) should be fully visible within the left, top and right sides of the photo. It’s just fine if you are cropped out of the photo along the bottom, but be sure you’re are not cropped off the left, right or top part of the photo. Otherwise this limits the types of layouts that can be done for your website. The exception is if a grand piano is included in the photo, they are too large to fit completely within the frame.
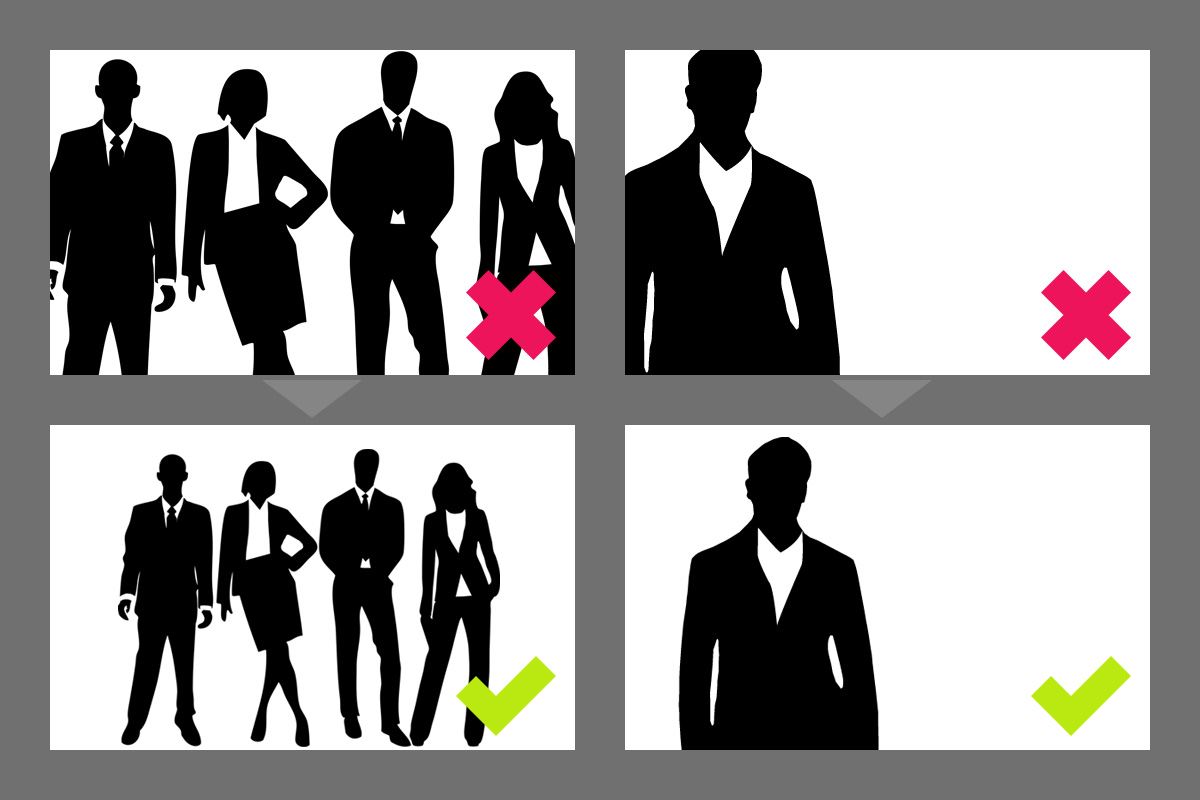
Position yourself on the left or right side
While you are the center of each photo, you don’t have to literally be in the center of the photo. Instead, position yourself to the left or right of center in the photo frame, not dead center. That empty space will be useful for overlaying text (like your name) or other content on your website, which is also useful for printed promotional materials. If you are looking to the side rather than directly at the camera, be sure you are facing toward where the empty space will be. So, for example, if you are positioned on the left side of the photo frame, look toward the right.
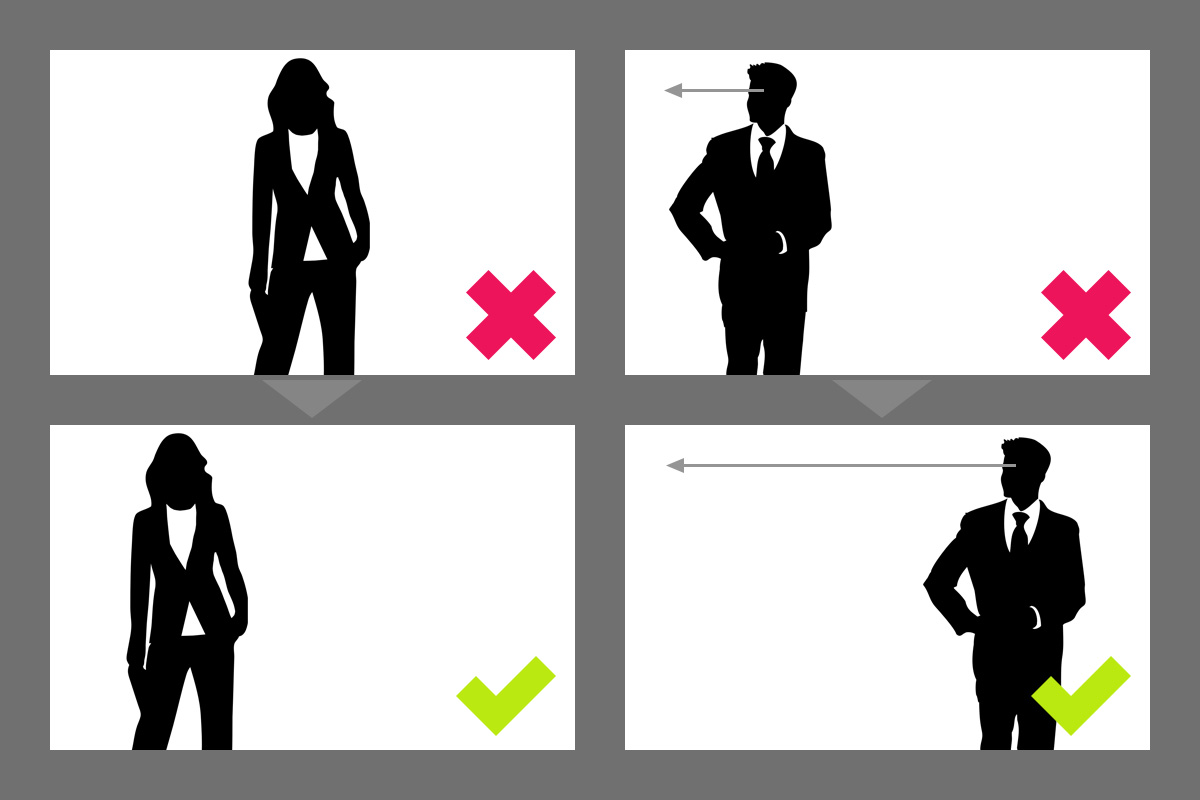
This kind of framing works best for one or two people. For larger groups, being in the center is just fine.
Include lots of background
Get some photos taken from a distance so that a lot of background is included in the photo. This will usually mean that you or your group are fully visible in the frame so be sure to wear nice shoes! This type of photo may be very useful for not just the homepage of your website, but especially for image banners at the top of website pages which are typically short and very wide (the dotted lines in the illustration below show how images may be cropped for top-of-page banners). In fact, the photographer may also want to take a photo of just the background, too. This can be used to extend the background of another photo taken against the same background for certain website designs, but it’s not necessary.

Get large, digital image files
The image files you get from the photographer should be large enough (in dimension) to use for online and print. That should be at least 3,000 pixels tall and/or wide. Anything smaller will work fine for online uses, but not for print which requires higher resolution images. The format for these files should be either TIFF, JPEG or PNG. The TIFF format will produce extremely large files because there is no compression. This works very well for print. For online use, your web designer should be able to convert TIFF or PNG photos to JPEG to attain the smallest possible file size.
Have the photos retouched by the photographer
Most photographers are experts at using Photoshop to improve the quality of the final photo, so it’s a good idea to have them do the photo retouching. This is often included in the price of your photoshoot as well. Then you can provide the web designer with high-quality photos ready for use and not incur additional charges for photo editing by them. However, some designers are even better at Photoshop than some photographers, so, don’t rule that option out completely if the image can be further improved.
Location, location, location
When you are planning the photo shoot ask the photographer to take photos in a few different locations so you have different backgrounds and lighting for your photos. Photos taken in a photo studio are just fine, they work well for the types of publicity shots that are used in programs and newspapers. You should also get some photos in different non-studio locations, such as an interesting stairway, a room with funky furniture, a large empty theater, or on the roof of a building. Outdoor photoshoots provide a huge variety of backgrounds with urban and natural landscapes providing a dramatic backdrop. Your photographer should be able to recommend some locations as well.
Wardrobe, hair and makeup
Bring a few different outfits to the photo shoot. This means that you’ll need a safe, private place to change if you’re doing any outdoor photos. Bring both casual and formal clothing and match the outfit to your environment. Go to a hair stylist before your photo shoot to be sure your hair looks its best on the day of the photo shoot. Men can get away with doing this up to a week in advance, but women will probably want to do this on the day of the potoshoot.
If you can afford to hire a stylist for the day, do it. They will look after all the small details of your wardrobe, hair and makeup throughout the photoshoot to be sure you get the best-looking photos possible. While flaws in photos can now be fixed digitally, the less you have to mess with a photo post-shoot the better. Your photographer will most likely be able to recommend a stylist or two for the day of your photoshoot.
Strike a pose
You don’t have to spend hours in front of a mirror practicing certain poses, although there’s nothing wrong with that if it gives you more confidence in front of the camera. You want to look relaxed, happy and natural in your photos. Don’t force yourself into poses that feel uncharacteristic, the photos need to capture and reflect your true personality. A good photographer will help you achieve this with some gentle coaching while photographing you.
Be expressive in your photos. You don’t have to have the same look on your face for every photo. Smiling photos are the best, but it’s also okay to look like a serious, no-nonsense artist in some of your photos. If you’re a playful person, be playful in front of the camera. Laugh, joke, make a few funny faces. Candid shots can also provide a nice contrast to the standard publicity photos.
If you play an instrument, get some photos with your instrument (and without it), including while playing your instrument. For pianists this is more difficult because you can’t just take a piano with you to the photo shoot! But the photographer may be able to find a location with a piano. If you’re a dancer, do a few dance moves. If you’re a singer, sing a few bars for the photographer. These types of “action” shots can work very well on a website.
Prepare for your photo shoot
It may seem like standing around and posing in front of a camera for 2-4 hours is easy and fun, but you’ll discover it can be physically and emotionally draining. You need to look and feel your best on the day of your photoshoot, so, show up fresh and prepared. Don’t go out drinking and partying the night before. Be sure you get a good night’s sleep and wake up in plenty of time and have a good breakfast to keep your energy up throughout the photoshoot. If you become sick, re-schedule. Even the best makeup and lighting can’t hide the fact you don’t feel or look your best if you’ve got a bad cold.
Have your wardrobe, makeup, bottled water and anything else you’ll need ready to go the night before. You may want to ask a friend to drive you to the photoshoot so you can arrive calm and relaxed (unless that friend is a terrible driver). Listen to music that puts you in a good mood before and during the photo shoot if possible. You’re spending good money for these photos, make sure you show up prepared and ready to go.
Aaaand scene!
Remember that these are just guidelines meant to help you get good publicity photos for your website design. There are plenty of excellent publicity photos that break the “rules.” The point is to get photographs that are creative, engaging, and make you look like a star!
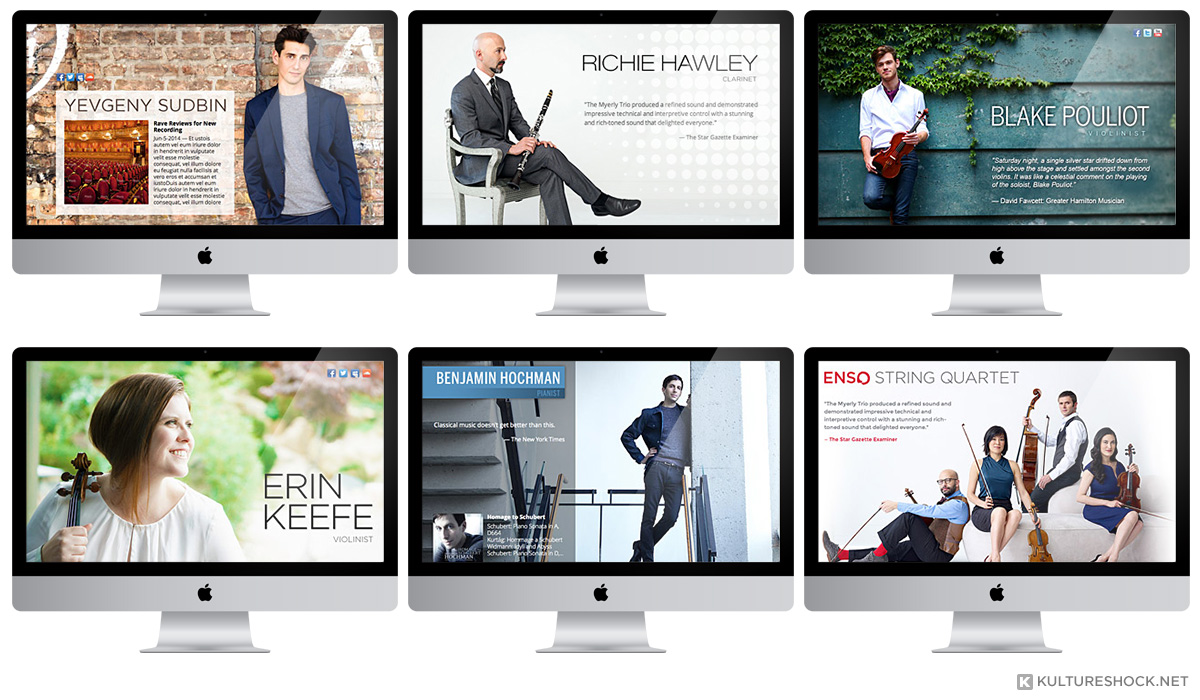
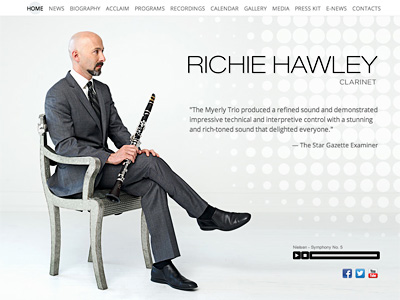
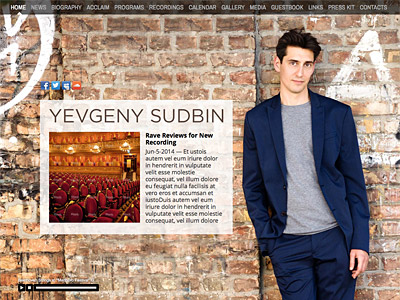
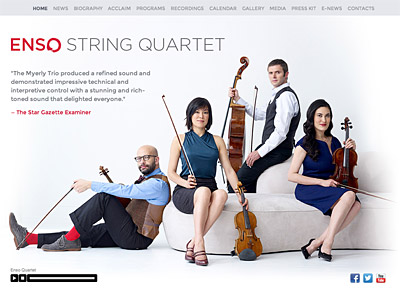
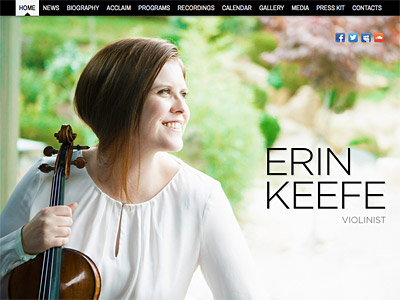
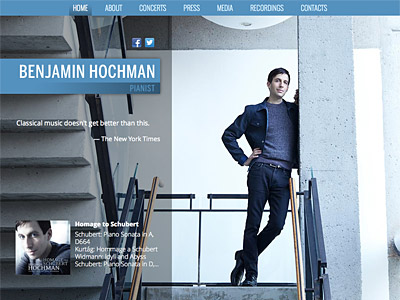
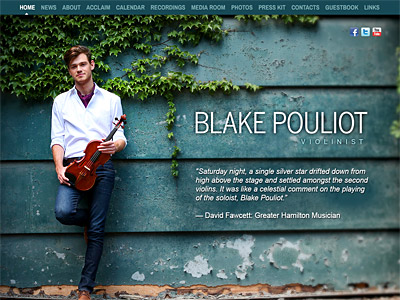
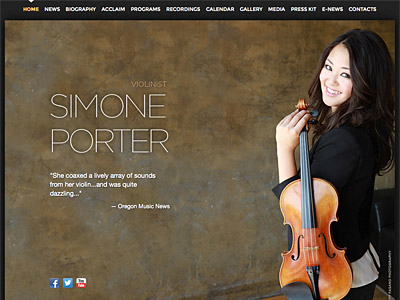
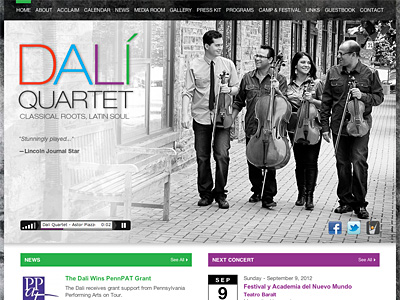
Here are just a few of the websites created for some of our KultureShock.Net clients. See how well their photos worked for their custom website designs. If you have any questions or comments, please leave them in the comments section below.

KultureShock does such a wonderful and professional presentation. The BLOG looks great!!!